
Industrial equipment relies on standard bolted joints because they provide essential strength and reliability for all types of machinery and construction elements. It determines the required force to secure each bolt which prevents both loosening and breaking. The absence of proper bolt torquing results in failures which cause equipment damage, resulting in production delays.
The article demonstrates how correct torquing stops failures from occurring while providing basic instructions on proper torquing methods.
Step-by-Step Process of Proper Bolt Torquing
1. Clean and Prepare the Surface
The worker performs cleaning tasks for all surfaces before starting the tightening process. The friction surfaces change with dirt, rust, and oil presence which leads to incorrect torque measurements. Clean surfaces help achieve correct clamping force.
2. Check the Torque Tightening Chart
The next step is to refer to the torque tightening chart for bolt. This chart shows the exact torque value based on bolt size, grade, and condition. Using the right value is important because different bolts require different torque levels.
3. Apply Lubrication if Needed
Lubrication reduces friction between threads. This process enables better tightening operations which yield correct tightening results. The use of lubrication requires torque value adjustments because it modifies the distribution of applied force.
4. Hand Tighten First
Initial hand tightening of the bolt ensures proper alignment for subsequent work. The procedure stops cross-threading from happening while it guarantees that the bolt sits correctly for full torque application.
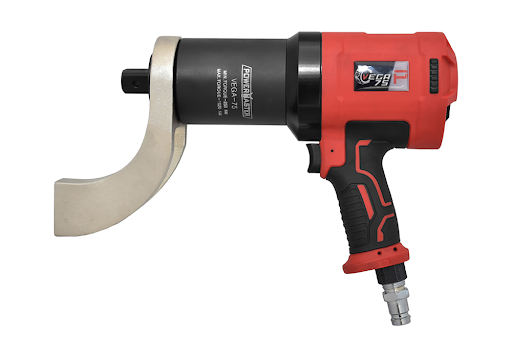
5. Use a Calibrated Torque Tool
The required torque is applied via a torque wrench or hydraulic tool. The precise operation of these devices becomes essential because even tiny measurement errors result in joint failure.
6. Follow a Proper Tightening Sequence
The cross or star pattern works best for tightening multiple bolts at once. This method guarantees that all joint areas will experience uniform loading forces.
7. Tighten in Stages
Torque is applied in steps rather than all at once. For example, the worker may tighten to 50%, then 75%, and finally 100% of the required torque. This improves accuracy and balance.
8. Final Inspection and Verification
The team performs post-tightening checks which involve verifying every bolt with a torque wrench. This verifies that all bolts have reached their required torque level which guarantees safe operation.
How It Prevents Equipment Failure?
Proper bolt torquing ensures correct preload, which keeps parts tightly connected. This prevents loosening, leakage, and vibration damage. It also reduces stress on bolts and increases their life.
On the other hand, incorrect torque can cause serious issues such as bolt fatigue, cracks, or sudden failure. This is why following a torque tightening chart for bolt is essential in every application.
Conclusion
Proper bolt torquing is a simple but critical process that prevents equipment failure and improves safety. By following correct steps and using a reliable torque tightening chart for bolt, industries can ensure strong and long-lasting joints. Companies like POWERMASTER LTD. focus on providing advanced torque solutions and tools that support accurate and safe bolting practices across various industries.